

Why Does Concrete Need Control Joints and How Do They Help Prevent Cracking?
October 1, 2026
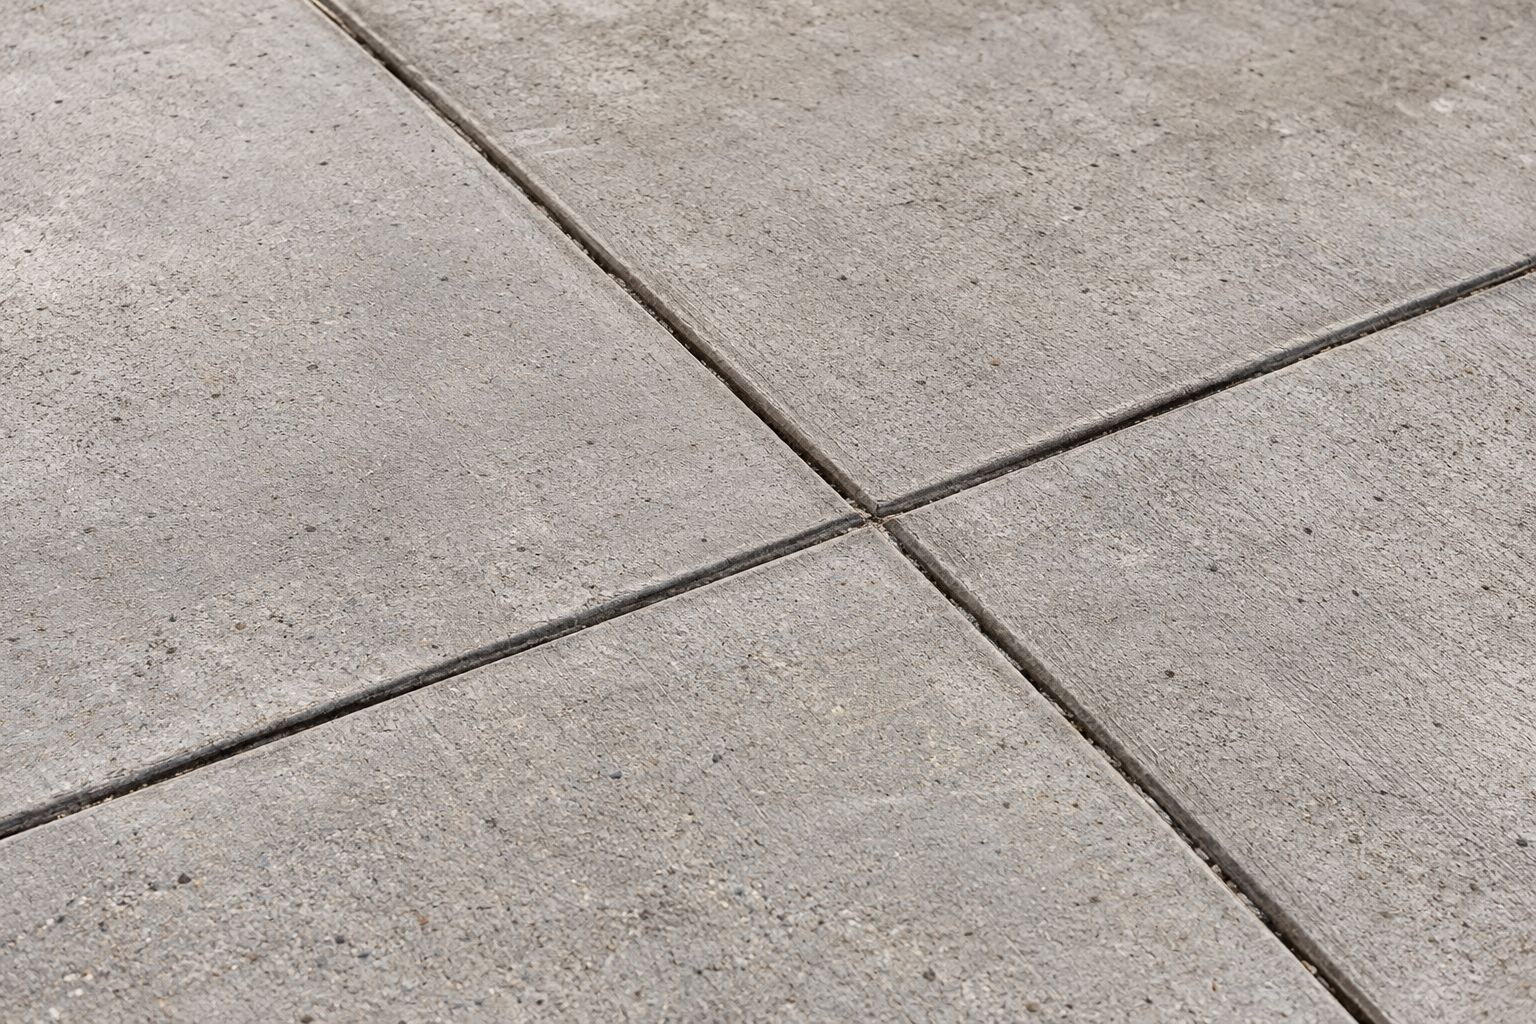
Concrete changes as it cures. As moisture leaves the slab, the concrete contracts slightly and internal stress begins to build. Control joints give that movement a planned path, creating weaker lines where cracking can occur instead of leaving the slab to crack unpredictably across a driveway, patio, or other finished surface.
Why Concrete Cracks as It Cures
Concrete is strong under compression but weak under tension, and shrinkage puts the surface under tension the moment curing begins. As the slab dries and the paste around each piece of aggregate pulls tighter, the base beneath it and any steel inside it resist that movement, building stress the concrete itself cannot stretch to absorb. Once that stress exceeds what the slab can take at any given point, it releases as a crack. A slab poured over an uneven subgrade, or finished unevenly in the heat, is more likely to crack in an unpredictable spot, simply because nothing in the design pointed the stress somewhere else.
How Do Control Joints Help Prevent Random Cracking?
A control joint cuts through roughly a quarter of the slab’s thickness, tooled in with a groover while the concrete is still soft or sawed in once it has hardened enough to hold an edge. That reduced cross-section becomes the weakest line in the entire slab, so when shrinkage stress builds, the crack forms below the groove instead of at a random point on the surface. The line still marks where the concrete separated, but the separation stays straight and sits inside a joint built to hide it, rather than spreading sideways into the surrounding panel. This same idea, using thickness and reinforcement to steer how a crack develops rather than eliminate it outright, carries into how Interstate Concrete and Asphalt frames concrete slabs built for equipment and storage loads, where a predictable crack pattern matters as much as raw load capacity.
How Far Apart Should Concrete Control Joints Be?
Joint spacing follows a straightforward ratio: joints typically land at a distance in feet equal to roughly two to three times the slab’s thickness in inches, so a standard four-inch driveway slab calls for joints spaced eight to twelve feet apart. Depth follows a separate ratio, cut to about a quarter of the slab’s total thickness so the weakened plane actually controls where the crack forms instead of just scoring the surface. Panel shape matters too, since a long, narrow section cracks diagonally almost regardless of spacing, which is why panels are laid out close to square whenever the project allows it. Getting these ratios right starts with a mix that has the same shrinkage characteristics batch after batch, which is part of why Interstate Concrete and Asphalt runs its ready-mixed concrete through NRMCA-certified plants rather than leaving that consistency to chance.
When Should Control Joints Be Cut Into Concrete?
Once spacing and depth are set, sawed joints still have to go in at the right moment: after the concrete has hardened enough to resist raveling under the blade, but before shrinkage stress has built up enough to crack the slab on its own, typically a window of about four to twelve hours after finishing with a conventional saw. That window moves depending on how fast the concrete is curing, and cure speed is largely a function of temperature. In Rathdrum, Idaho, and across the surrounding stretch of northern Idaho and eastern Washington, hot summer afternoons speed hydration and shrink that window down, while hard winter freezes slow it and can push the safe cutting time out by several hours. A crew that treats the cutting time as a response to that day’s weather, not a fixed schedule regardless of conditions, gets a clean edge and a joint that actually controls where the slab cracks.
Why Control Joint Layout Should Be Planned Before the Pour
Control joints work best when their location, spacing, and depth are settled before concrete reaches the forms. Once placement begins, the timing of each cut then follows the way the slab is actually setting under that day’s conditions. Together, those decisions give shrinkage stress planned locations to release instead of leaving cracks to find their own path across the finished surface.
Planning the joints before the pour is what separates a slab that cracks where you want it from one that cracks wherever the stress finds a way out. Settle the spacing and depth first, then let the day’s conditions set the timing of each cut, and shrinkage has a clear path to follow. Interstate Concrete and Asphalt works through the mix, placement, and joint layout before the first truck arrives. Request a quote to get those details set from the start.